Here’s what Apple’s WWDC 2019 announcements mean to iPad Artists

Apple just kicked-off WWDC 2019 announcing features of the upcoming OS for their hardware lineup. The event was much awaited by creatives who were hoping for features that could make the iPad Pro 2018 a laptop replacement as the company marketed. The new iPadOS that is now separated from iOS carries all the features of iOS for iPhone along with several of iPad exclusive features that attempts to make the device more powerful. Here are some features that are relevant to the Artists and Designers who’ve been using iPad as a work tool:

(Photo source: Apple)

(Photo source: Apple)

(1) Apple Pencil latency drops from 20 ms to 9 ms, that means response delays beyond what a human eye can perceive. The latency and no-parallax was already pretty solid on iPad, so the change might mean much richer experience.

(2) New macOS Catalina has a feature called ‘Sidecar’ that supports iPad to work as secondary display for macs (the OS also supports mirroring). Only for select apps! ZBrush, Substance Painter, Maya, Illustrator, etc. are supported. Photoshop not in the list. Perhaps Adobe wants us to subscribe/buy upcoming Photoshop iPad app. Apple started with showing a picture of some other graphic tablet (Wacom Pen perhaps), so it does sounds promising. No word out yet on latency. (Good Bye Astropad, DuetDisplay?)

(3) With iPadOS, you can get new fonts from the App Store (that probably means paying for them, I guess). Procreate already supports importing custom fonts.

(4) Same app in multiple spaces. That maybe means you could open two Procreate documents at the same time. Apple showed the demo using native apps like Notes, so we don’t know yet if it’s universally default to all apps.

(5) The redesigned tools palette gives you a pixel eraser to remove exactly what you want from a drawing. Also a ruler to draw straight lines. Advanced Drawing apps are already equipped with powerful tools, but no harm in getting the markup features elevated.

Slide Over, Pen Drive support, much improved ‘Files’ app with Local and Downloads folder, Zip files, File Servers, the list is pretty large. I’ll put these things to test when a bit stable beta is out. Did these announcements excite you? Was there any feature that you wished for, but didn’t see? Would you buy the iPad Pro after the iPadOS is out? Are you still very dependent on desktop workflow? Share your thoughts in the comments below.

8 things to remember for your recruitment interviews at Art Conferences

Last year I was at THU, where we were recruiting for King for some open Art positions. For those of you who do not know, THU is an experience for creators from the entertainment industry, and the format is recruitment sessions for first two days, followed by full-day conference for the remaining four days. 

In the recruitment area, I had the opportunity to join my colleagues and Recruitment Manager, and interact with some really talented people. Based on my experience, I have some advice for candidates who go to such recruitment sessions in hope of getting hired or at least have a nice and positive interaction. All my views expressed below are personal, and should not be assumed as a guarantor for jobs, or a preference by King or any other studio. These are just some minor tips that can support your great portfolio, or more importantly, save you from killing the experience. 

  1. Bring a downloaded/printed portfolio: While most of the recruiters have tablets/laptops with them, the internet connectivity at such large gatherings cannot be trusted. Therefore bringing a downloaded portfolio on tablets, or a printed book is recommended (avoid small screen phones).
  2. Give your devices some manners: You are presenting yourself professionally, so should your device. Set it to ‘Do Not Disturb’ or Airplane Mode. I met one candidate, whose device had messages popping up from a naked girl profile picture at the bottom of the screen. Another one was informing how far was he from the latest dating match. Messages and app notifications could be annoying too. So if it’s a device you are about to hand over to a recruiter, make sure it is quiet.
  3. Be on time: Usually, the recruitment appointments have time slots, and other candidates are slated for other time, so be there right on time; the recruiters will appreciate it.
  4. Number of portfolio pieces: There are always different opinions about the number of pieces you should put in your portfolio. It’s a longer topic, so I would share my thoughts on this in some other post, but for such walk-in rounds, I suggest you bring one strong portfolio document containing the best of your work and have some extended different documents with a bigger collection of that category of work. For example, if your main document had a small collection of storyboards in it, and the recruiter displays interest in it, you could pull up your secondary document containing just storyboards, which includes more work that you felt was too much to belong to the main document.
  5. Tell them what you are expecting: Many candidates come for such sessions with a different purpose. It could be anything from seeking an on-site job opportunity to freelance or just feedback about their work. If it’s anything different from the primary objective of getting hired, let them know, so they can review your work accordingly.
  6. Didn’t get an appointment, not the end of the road: Some newcomers are often rejected in their online application if their quality of work didn’t meet the expectations of recruiters. If this was your case, don’t feel disheartened. Sometimes you could just politely ask at the gates, and if you are lucky, some companies sitting inside who can spare sometime might be happy to listen to you. More useful when you applied only with the hope of feedback.
  7. Schedule your appointments giving some time-space: When you choose your appointment time slots, make sure they are spaced, as an extended review will overspill on your next appointment.
  8. Know the company you are meeting: Most of the times, a candidate goes to a lot of recruiters, with a hope of things to work out with one or the other. It’s all okay, and never a problem. But it’s helpful if you know a little about the company you are going to. Some people showed us some work while mentioning that they think this is the kind of work we do at our company, or also some mentions of our games. This reflects that you are willing to work for them. If you have some questions about the company, this is the time and place to ask.

I wish you good luck with your recruitment interviews. If there’s anything that you’d like to know, feel free to leave a comment below.

(photo courtesy: Valeria Chobits twitter.com/_Valeria_King )

(photo courtesy: Valeria Chobits twitter.com/_Valeria_King )

The Unofficial Guide to attending CTN-X

I am still recovering from my Jet lag after a day long flight, and while I was cherishing the memories I brought with me from CTN, I thought of writing down a post with my thoughts about the expo, and present a guide which could be useful for someone wanting to attend CTN next year.

1)    About the expo: CTN-X is a known name to most of us connected to Art and Animation. Between hundreds of more conventions and expos (like Comic Con), this expo stands out by putting the Creative Talent in the Center. It is special as it brings the largest gathering of Animation industry professionals exhibiting, delivering workshops, talking, or simply attending. This was my first time attending it, and I was told that it just gets bigger every year. More on the expo can be found easily on their website, so I will proceed to sharing my personal experiences/recommendations instead.

ctnx

2)    Preparing for CTN: Go with an extra suitcase! Or a suitcase big enough to add more items in your return journey. You might end up with double the items you came with. Print around 100-200 business cards, and keep some freebies if you can (art prints, postcards, candies). For Portfolio, print (album/book) or digital (iPad) anything works. Don’t make it too heavy to hold, or too many slides to show. The people who will see it will be very busy, and you won’t get a lot of time from them. 10-15 images should be enough. Use your own picture (or a very resembling avatar if you really need to) as your profile picture on Facebook, so people can recognise you there. I met a friend who had her business card pinned to her shirt pocket, which was a good idea too to get spotted.

3)    Duration of stay: I personally recommend you to book your stay around 2-4 days in addition to the expo dates. You might need those days for making more from the expo, meeting people you took appointment with, or visiting studios.

4)    Where to stay? Clearly staying in Los Angeles Marriott Burbank Airport Hotel excels over staying anywhere else. It’s the same hotel where the convention hall is, and has most number of guests exhibiting at CTN. It might appear a bit expensive than other options available (especially from Airbnb), but is totally worth it. Keep an eye on the availability of this place though, as it gets booked in the blink of an eye. Here are some advantages of staying at Marriott:

a)    You stay closest to the expo: The hotel has connectivity with the expo area from inside, so you don’t need to drive or walk down. Saves your energy during a hectic routine.

b)    Easy unload: You can unload your shopping bag by coming to your room, and returning to the expo as many times, with ease. I ended up buying lots of stuff from artists, and it made difficult for me to experience the expo, so I quickly came to my hotel room, dropped off my purchases, and went back. Plus, you can stretch your legs on the bed for a few minutes regaining energy, while your phone charges a little.

c)     Ideal for meetings: If you made a new connection with someone, and want to invite him/her to your room to talk about projects/profession, you get more privacy and focus than the crowded spots around the expo.

d)    Bump into professionals: Like I said, most exhibitors stay in this hotel, it increases your chances of accidentally finding someone in the lobby, room floors, and get a conversation started.

e)    Stay late!: If you stay in the same hotel, you can without any worry stay late in the expo area, make friends, having dinner or drink with people. On the final day of expo, I was sketching with a great group of artists, and we all stayed there till 1 AM. I was able to be there, as I knew my hotel room is just around the corner.

5)    What to do at an Artist’s Table? Now, this is the heart of the whole expo, and there are a lot of things that can be important to you when you’re visiting an artist at their desk. Here’s some of my recommendation:

a)    Meeting the Artist: Almost every artist exhibiting at CTN-X will be very welcoming and happy to see you. Return the warm welcome with a good smile, greeting, and make a nice short introduction. If you are familiar with his/her name and work, congratulate them. If you are an Artist yourself, and the artist on table is your social media connection, don’t expect that he or she may recognise you. Artists are connected with thousands of people, and it is very natural if they don’t know or recognise you. On your side, prepare a bit before coming to the expo, by discovering their work, and talk about their work that you know when you meet them. Don’t sound like a stalker though by telling them about the Ibiza vacation pictures you saw in their Facebook.

b)    Talking to the Artist: Now, how much will you end up talking with the artist is entirely dependent on you and them, the time available, and how much you know each other or are curious about. With some, I ended up staying at their tables for more than 20 minutes, and with some others, we just smiled at each other and I kept walking, while he or she was occupied with something else. You can start off by asking the artist what he or she does (if you don’t know already), or ask them how’s their day going? Maybe they might ask you about yourself, and that’s a good starting point to tell them about you and your expectations from the expo, especially coming to their table.

c)     Browsing Artist’s Table: If you spoke to the artist, and used some of their time on table, don’t just keep an eye contact without looking around at what they have brought. Even if you are familiar with their work online, spend some time by flipping over their prints, sketches, or books. Don’t just go to someone’s table, and scream out, ‘Hey! I Love your work! Bye-bye!’. Even if you don’t have the budget of buying their products, they might appreciate you for your time going through their things and showing respect to their Art. Be very watchful while you do that, and don’t ruin the arrangement, or drop anything on floor. Keep your water bottle aside, and don’t put your book, shopping, tablet, bag or any such thing on their table (if you really-really need to, take their permission). If they have a business card, pick one gently, and if you want another, humbly ask them if you can.

d)    Showing your work: If you were carrying your portfolio, and you wanted the Artist to see it, you could do that here. But remember that the Artist might have less time available for you, as there are others waiting, or they must be tired, etc. Make a humble request asking if they have a few minutes to spare to look at and critique your work. If they say yes, take out your book/tablet, and offer them to browse through it. While they see your work, pay attention to the comments they have for you. Keep a small notebook if you can, and bring it out to write down what they’re saying. Most importantly, do not defend or give excuses when someone is commenting on your work. Lastly, thank them for their time for going through it, and if possible, make sure you buy something from their table, as a token of thanks for their time spent on you.

e)    Buying at the tables: Major reason to go to CTN-X after getting the opportunity to meet the artist, is to buy their Art. Things there are rare collectibles, because most of them are self-published/printed, and not easily available elsewhere. So make sure you go with a budget in mind, and spend wisely. Now, I don’t know what budget may work for you. I went with around $400 to spend (and spent all of it), while some may spend more than me, and some may have a lot less. One thing is for sure, that no matter what your budget is, you might easily end up spending whole of it, while still being left with things you wanted to buy, but couldn’t. One tip here is to prioritise your purchase. If you have an artist you admire most, among all others, make sure you have bought your dream book/print from their desk before you end all your money. Keep an eye on posts from these artists before CTN, and if they are limited prints, make sure you buy them on day one! If you want to reserve a copy, contact the artist. Most artists might have a price label next to their products, if not, feel free to ask. It’s alright if you don’t buy it, and they won’t mind. If they have a freebie on their table, take it, thank them for that, and keep it. If you had something in return to give, you could give them that (business card, print, pin, etc.). Most Art Prints or originals are already signed, and usually they sign and/or draw if you buy a book from them.


6)    Panels and Demos: Besides Artists’ Pavilion, CTN has workshops, talks, etc. If your type of ticket allows, you can go and attend these panels. The format of 2016 was a bit different from previous years. This year, entry to these panels was given through Add-Ons that were purchased through their website, and then some cards with the panel title was given at the time of badge collection. Irrespective of you holding a VIP pass, this new system requires you to stand in the queue with everyone to get into the room. I was also told that add-on was not compulsory to have, and they allowed people in if there were seats available, though I didn’t test that out and therefore do not know. Usually arriving 15 minutes prior to the session ensures entry, and nice seating location. Truthfully, I bought a lot of add-ons, but attended just one session, as I was satisfied enough with the Expo area, and all of my three days were spent there. You might also see demo tables, with some very talented artists drawing live!

7)    What pass to buy? CTN-X lists various options of tickets to buy through their website. Starting with one-day expo pass to 3 days passport and VIP pass (being the most expensive). I bought the VIP pass, as I wanted to make the most out of my expo, especially as I was travelling from so far, and was already going to spend a lot on my flight and stay anyway. VIP pass gets you everything including entry to expo area, first preference to buy an Add-On, and early/priority choice of winning a lottery for CTN-X special events (like studio tours etc.) and some VIP lounge access which I didn’t go to. Previously, VIP pass holders had a separate queue to enter the panels, but I guess they changed it this time, to make it easier for all, and the opportunity open to everyone. However, in my personal opinion, it kind of levels the importance of VIP pass equivalent to any other pass, whereas the VIP pass was quite expensive. It was mentioned that VIP pass holders have a greater chance of winning lottery. However, I signed up for all of the events (breakfasts with the pros, Disney/DreamWorks studio tour, close and open the show), but my name didn’t come out in any of those. In fact, I did find many of non-VIP pass holders winning it and going to these exclusive tours/events. This made me a bit sad, but then that’s that! In other words, if you don’t want to buy a VIP one, it’s all right, and going to the expo in itself will be enough and satisfying, I can guarantee that!

8)    Where to eat? CTN brought in some food stalls near the expo area, making some food and drinks available to purchase, which was really good. You also find hotel’s restaurant named The Daily Grill nearby, but since it’s quite expensive, I will recommend you to cross the road and go to other options like McDonald’s, Panda Express, Del Taco, etc. The Daily Grill also charged my card twice for the breakfast I had once (that too on different dates), so I am not going to them again! J About water! If you are a European, relax and chill. Water in that area is free, and there are also dispensers around expo area, which you can use for refill.

9)    More to do! CTN also offers Portfolio Reviews, and similar activities, but I didn’t sign up for those, so do not know much about them. However, there’s still a lot you can do during your CTN trip:

a)    Studio Visits: As CTN happens in Burbank, there are lots of Animation Studios around that area, and if you have time during your stay, you could visit them by taking the official tours. You can find brochures with more info on that at the Burbank Airport.

b)    Designer Con: That’s another convention that takes place in LA around the same time as CTN. It doesn’t see these many known artists like in CTN, but if I need to talk about the size of the expo, how it was spaced out, and some awesome collectible toys it had, it’s a great place to go to! I wish CTN and D-Con didn’t overlap, so anyone coming to Burbank at this time of the year could go to both.

c)     Stay Out! If you want to make most out of CTN, don’t just crash on bed, but stay out! Walk around in the lobby, go to the restaurants, and meet as many people as you can! You will make company with people you didn’t know before, and it’d make the experience of coming to CTN-X memorable and rewarding. Don’t stress yourself. Don’t force an agenda/objective on you. Don’t pressurise yourself that your portfolio needs to be seen, or someone should offer you work opportunity, or anything else that could benefit your career. Let it go easy, that place is all about relaxing and spending time with people from your industry. The rewards will come on their own; you don’t need to run after them! So, go, mingle, have fun, relax, and if you are lucky, you might end up having breakfast with Mel Milton, while he draws his routine Morning Dook, and you could watch him draw right in front of you! Isn’t that a lottery?

The thoughts presented here are based on my personal experiences, and my opinion/recommendation may bring different result to someone else. I have tried to cover everything I remember, but if you have any questions, don’t hesitate to e-mail to kshiraj.telang@gmail.com :)


Workstations - Your podium for Creativity

Almost all of us start a new year with some resolutions. At the beginning of every year, we make some commitments to ourselves on both personal and professional fronts. Sometimes they’re realistic, and many times they are over ambitious. While we can make and work on resolutions at any point of the year, it usually makes more sense, and is often more motivating when we do that at the beginning of an year. 

We just got started with this year, 2016; and I regard it as an important year for myself for several reasons. There are a lot of things I am pushing to accomplish, which are backlogged from many years. Therefore it was important to give it a better start. A podcast by Chris Oatley titled ‘Artistic Growth is NOT a Goal & How to become an Early Riser’ available for listening at http://chrisoatley.com/artcast-58-artistic-growth-is-not-a-goal-how-to-become-an-early-riser/?utm_content=buffer77e2b&utm_medium=social&utm_source=facebook.com&utm_campaign=buffer is a great resource to know what type of resolutions you shouldn’t make, and how to be more productive. As I am beginning to chase my goals, I have also decided that I would share my experiences, lessons learned, recommendations, and resources I come across that could make some sense to my friends around pursuing an artistic journey. 

Before we begin, I would like to acknowledge that I am still a beginner on many fronts, and as an artist there are several of things I need to learn, achieve, and conquer. Few of what I’d exchange might prove out to be unproductive for some. There can be no fixed and perfect route; every journey is unique, and has to encounter failures and successes as we walk our own path. This is only a ‘work in progress’ attempt to be of help to a few of my followers who often have questions for me. I hope that I succeed in adding any small value to your journey, and be of any help. Lets do it together, and make this year a successful one.

For my first post, I’d speak about workstation setup. We all organise our work desks in unique ways that fit our requirements, and go with our limitations. Regardless of the time we spend on it, and for the purpose for which we use it, workstation setup is an artist’s close pal, and plays an integral role at work. All of us organise and design our work setups in unique ways depending on our personal taste. Some of us put several of things we use in our eye sight to feel powerful, while many others just need a chair and an empty table to do their magic. I belong to the former classification, and usually have a habit of keeping several things next to me at work. In New Delhi, I do not live in a house of my own, and have usually changed house every now and then. It gets really difficult to do such relocation, and personalise your preferred setup again and again. Here is a picture of how my work place looked in one of the older house I lived:

kshiraj_telang_workstation_01.jpg

I am going to discuss in detail, the workstation setup I am using currently. My current room is smaller than before, and thus a lot of materials are put in cabinets, and are brought to use as and when required (like lightbox, additional display, etc.), so the look keeps changing. However, this is how it looks most often. 

kshiraj_telang_workstation_02.jpg

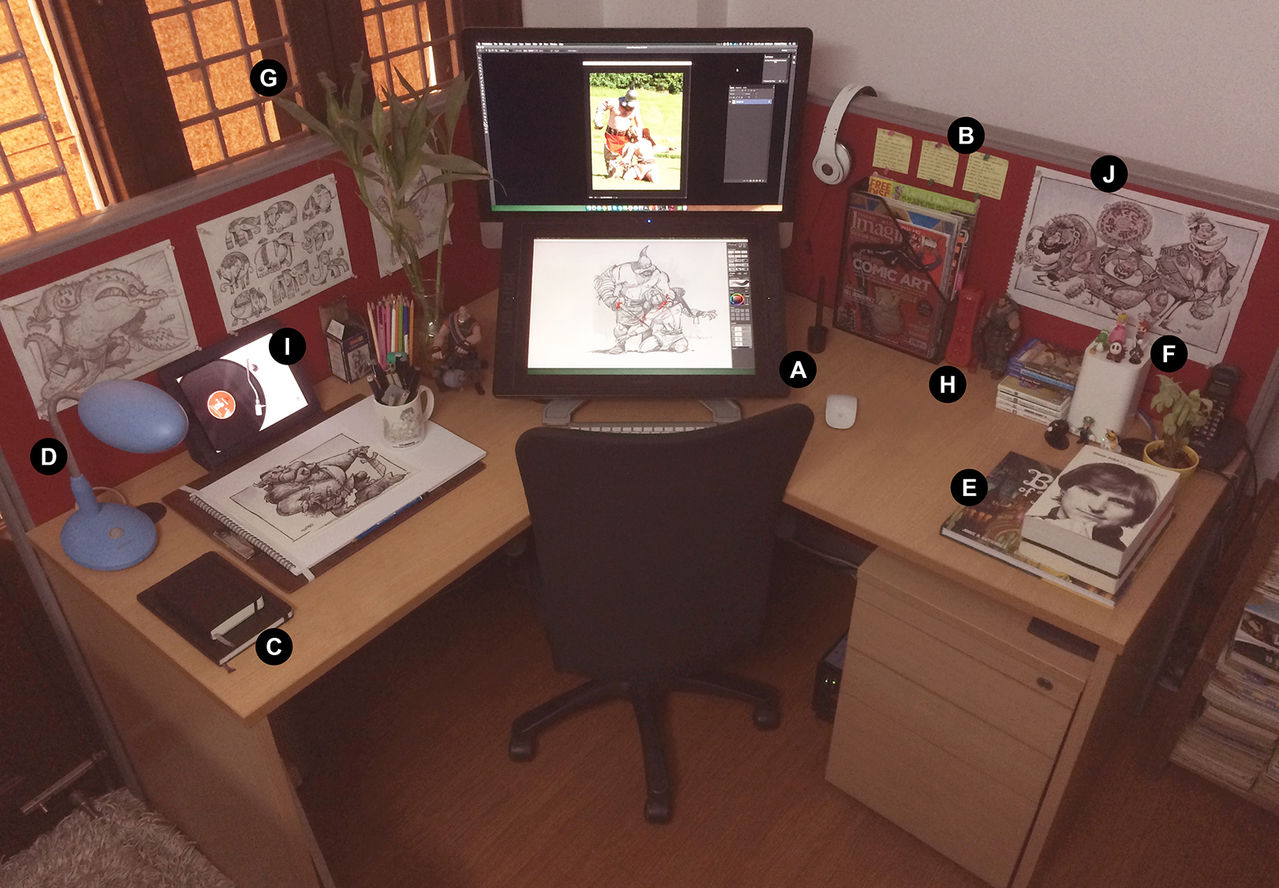
I have marked a few zones with alphabets to discuss them in this post. The picture is not so great, as it was taken from a phone’s camera, but it serves the purpose. Lets talk about some of its sections:

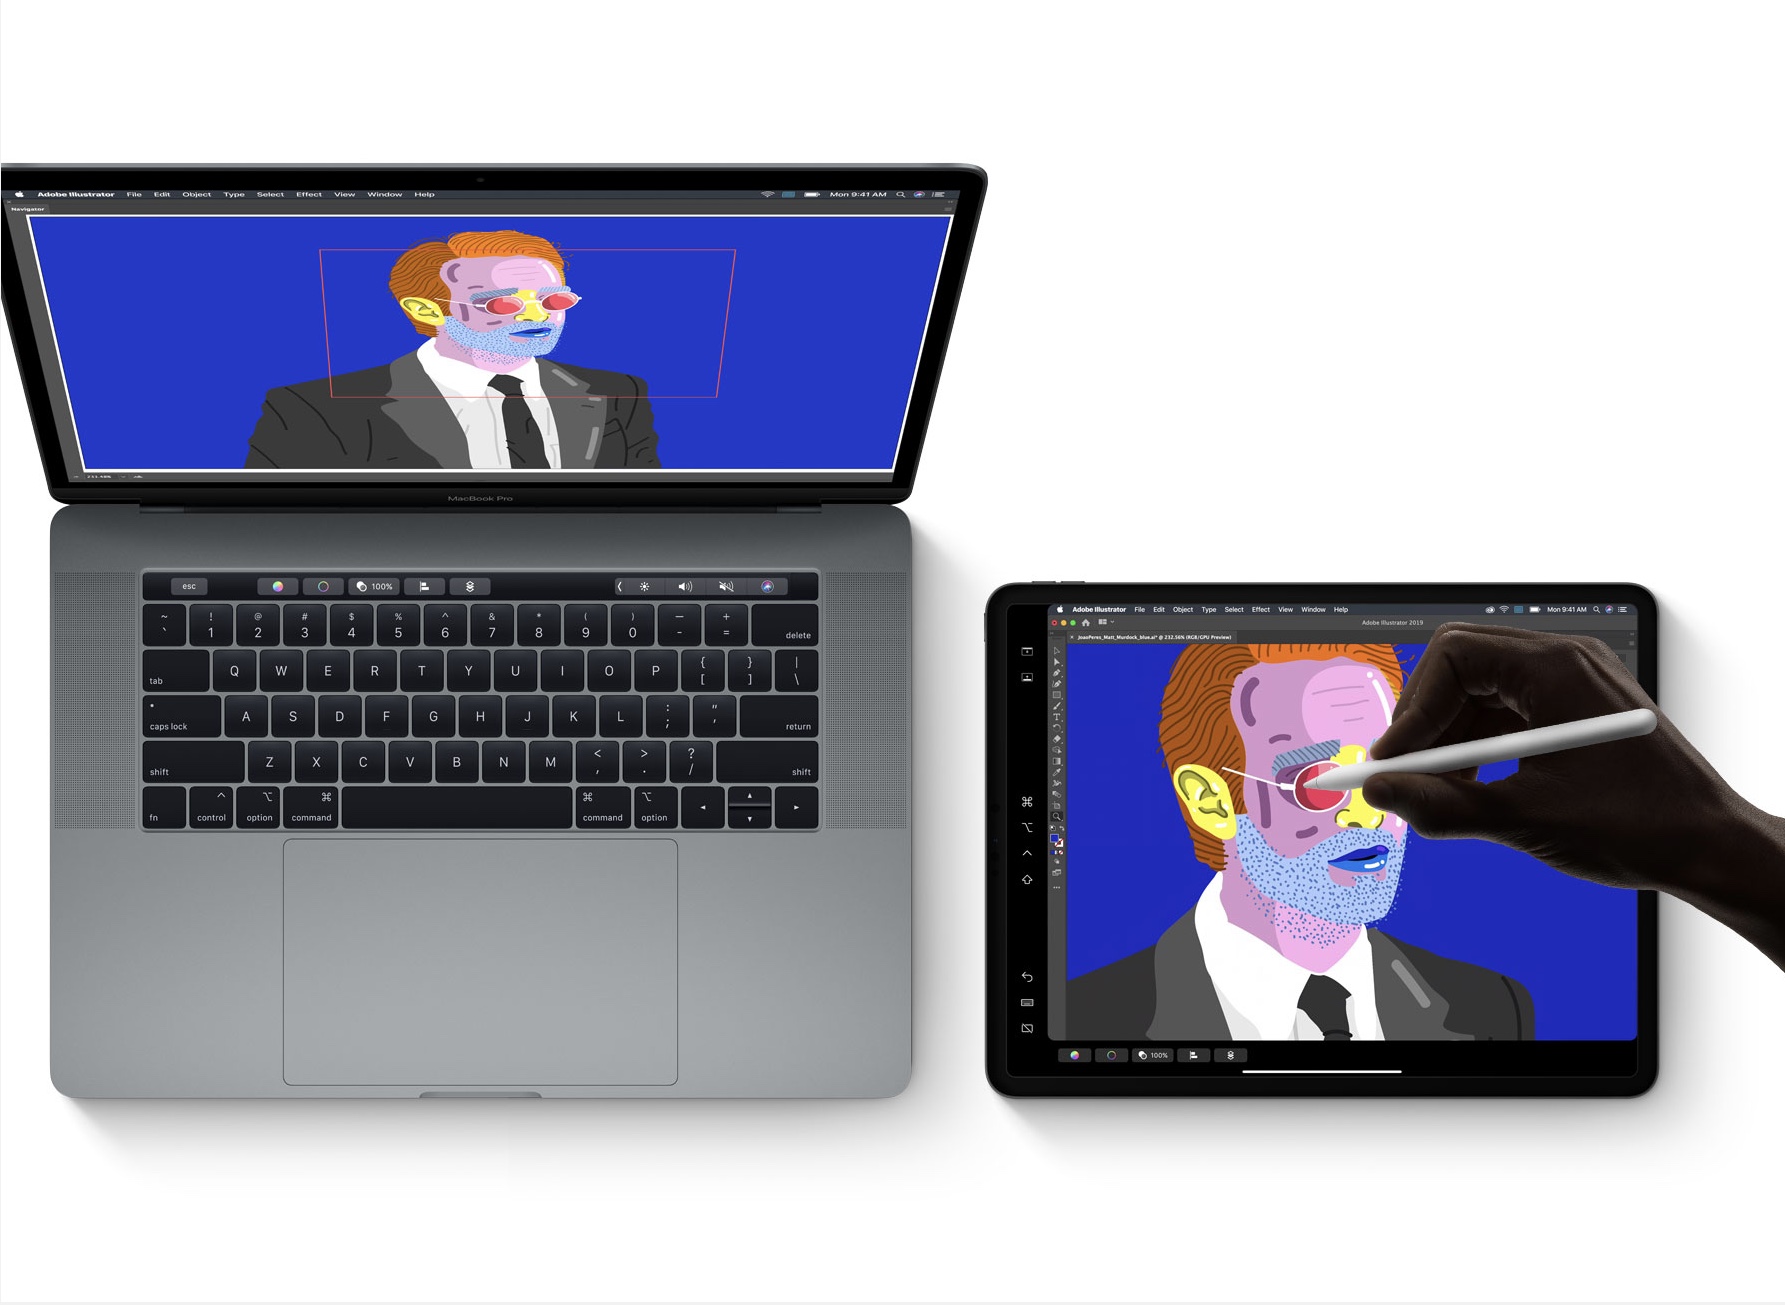
(A) Vertical Setup for Computer and Pen Tablet: For many years, I used a horizontal (computer screen and pen display tablet/ graphic pen tablet on left or right of each other), until I placed them this way. I find this layout more productive and meaningful than its counterpart. First that it uses less space; second that navigating the two screens with your eyes is more easy when put it that way; third that your tablet gets used more than any general activity on your computer, so you end up making more drawings than passing your time on web with your pen display lying at one corner. I currently use a 27 inch iMac with a Cintiq 21 UX. The display on iMac is employed to gather and display references, spec documents, and extra windows of your application, and the pen display tablet becomes primary. A lot of cable clutter also gets hidden when you setup like this. If the USB ports of your computer gets far, you could put a USB extender with multiple ports for plugging your scanner cable or pen drives when you require them.

(B) Sticky Notes: If there’s a work routine you have decided for yourself, and have identified goals to achieve in this year, it’d be a good practice to write them down, and have them pinned at your work desk. Even if you have memorised them all, and the routine is too simple, I still recommend you put them in writing. This will always remind you of the things you need to do, and keep you more motivated. 

(C) Moleskine Sketchbook and Planner: I am a big fan of Moleskine products, and you discover the difference only when you use them. A medium size sketchbook is a perfect companion for when I am out and need to draw. My pocket sized planner lists my goals and routine, and has a lot of reminders, inbox, someday list, and everything else related to GTD. If you find Moleskine expensive, you could find many cheaper alternatives for both the sketchbook and the planner.

(D) Philips twistable table lamp: Usually I put my drawing related items on my left on the work setup, aided by a lamp on the very left. If the room has a bed, and shared with someone, a lamp proves to be really useful to make me keep drawing at late hours without disturbance to anyone else.

(E) Books to read: Though I stack and organise all my books in the bookshelves, I find it a good habit to keep a couple of books on the desk which I keep changing every month (or whenever I am done reading them). For this year, I have set a target of completely reading one ‘Art of’ book every month. Having it next to me at all times, makes it easy for me to complete a few pages whenever I am taking break, or not doing anything at my computer.

(F) Airport Time Capsule: I really love this hardware, as it makes a very stable Wi-Fi network at my home, and takes regular Time Machine backups of my computer without leaving me worried about any loss of my data.

(G) Plants: I suggest you to put some indoor plants on or around your workstation. They add a very organic touch to your desk, and makes you feel more fresh and happy. Trust me, try it.

(H) Wiimote: I love classic games from the days of NES. I enjoy playing them with a Wiimote configured with OpenEmu, that supports ROMs of many classic consoles. These games are fun to take short breaks, instead of engaging in long hectic missions from deeper games. If you don’t want to buy a Wiimote, you could install Joypad Legacy, an iOS app based virtual controller that works well with OpenEmu. There sure must be Windows/Android alternatives available, which I am unaware of.

(I) VinylLove: If you are burning the midnight oil, VinylLove on your iPad/iPhone should be your music player companion. Its a beautifully designed app by Color Monkey, which takes up your Music Library and offers them as vinyl record in stacks. Give away those assorted playlists with billions of tracks senselessly connected in play order, and give a try to the play order of a single album (I recommend listening to A. R. Rahman). It also has a nice crackling sound you get from playing an old vinyl record.

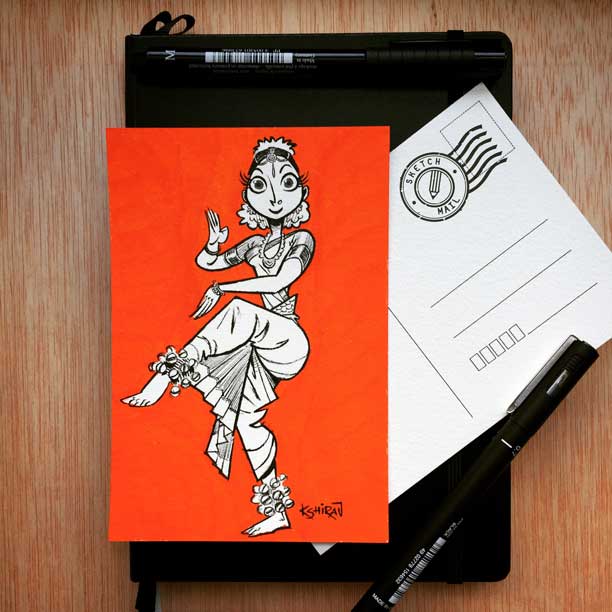
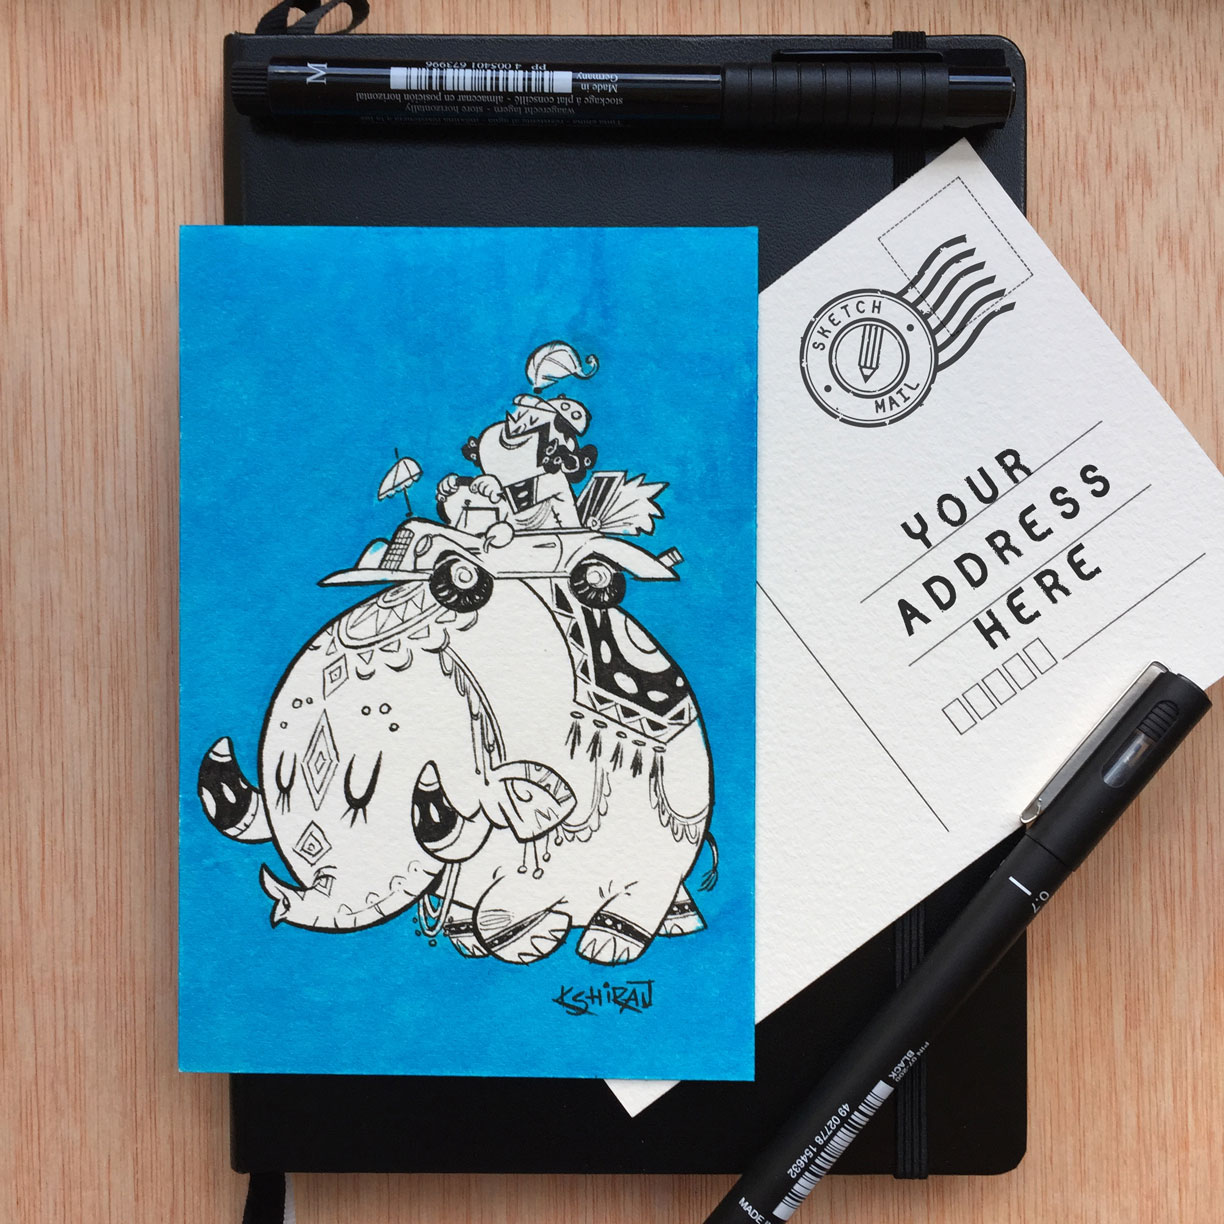
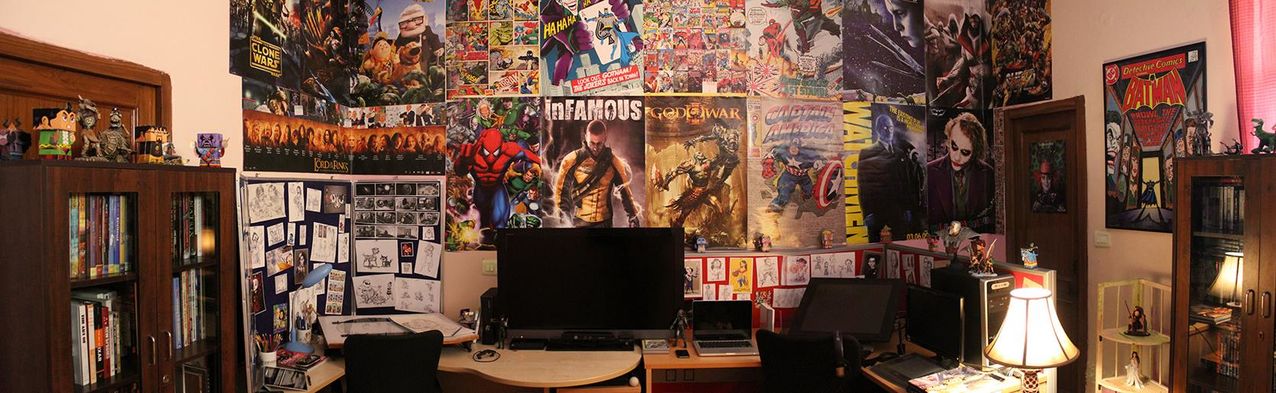
(J) Pin your art: If your work desk has a pin board, pin up some of your latest sketches, and keep replacing them with the new ones as you draw. This will make your workstation look different as the days pass, and also encourage you to draw everyday!

That’s it! I hope that you feel benefited from my post. Again, feel free to make changes that suit your requirements and match with your belongings. The idea is to go a long way this year, and thus it makes a lot of sense to start with fixing the place from where you work. If you have any comments, suggestions, or requests on this discussion, please write on the comment box, or e-mail me at kshiraj.telang@gmail.com

And remember, whenever you are done with making changes to your workstation, and have a setup ready, do send me a picture. I would love to see it! I will be back with more posts like these, along with book reviews, tips, software reviews, process sketches, resources, and lot more. Until then, good bye!